How to Edit a Recorded Lecture or Online Class in VidCarve
A recorded lecture is the easiest kind of video to improve and the most tedious to cut by hand. One speaker, one camera, ninety minutes, and the same three problems every time: long pauses while something is written on the board, a subject vocabulary the transcriber has never heard, and no structure a student can navigate. VidCarve handles all three from the transcript, and this guide is the order to do it in so nothing is done twice.
It assumes a single teacher talking to a class or a camera — a coaching session, a university lecture, a training module, a recorded webinar. Interviews and panels are covered in editing a video podcast; the difference is speaker labels, which a lecture does not need.
The short version
- Before uploading: add the course vocabulary to your account glossary, leave Multiple speakers off, and check the length against your plan.
- While it transcribes: gather the slides you will drop in.
- First pass, sound: turn on Studio sound if the room was echoey.
- Second pass, structure: strike false starts and the admin at the top and tail; run Find retakes.
- Third pass, pace: remove fillers, then tighten silences with a generous threshold.
- Fourth pass, navigation: find chapters, paste them into the description.
- Fifth pass, picture: place slides as picture-in-picture over the words that discuss them.
- Export with captions on; find one clip for the promo.
Before the file goes up
Put the vocabulary in the glossary first
Every subject has fifty words the transcriber will get wrong — names of theorems, drug names, statutes, the surname of the author you cite every week. The glossary fixes these while transcribing, and it has an account-wide level (Settings → Glossary) precisely for a course: enter the terms once and every lecture in the series gets them. Terms added after a transcript exists apply only when you Transcribe again, which is free but clears any B-roll you have placed — so do this first.
Leave "Multiple speakers" off
Speaker separation is for conversations. On a lecture it costs a little extra processing time and adds a badge to every paragraph that says the same name. The toggle locks once transcription starts, so decide now; for a lecture the decision is easy. If students ask questions from the floor, they are usually inaudible anyway — cut them and let the teacher's repetition of the question stand.
Check the length against your plan
The free plan accepts uploads of up to 30 minutes and gives you 30 minutes of transcription a month. A 90-minute lecture needs a paid plan — Creator's five hours covers a weekly lecture series comfortably — or a top-up. The arithmetic is in how minutes, plans and top-ups work.
Pass one: sound
Lecture rooms are hard: high ceilings, a projector fan, a lapel mic that rubs. If the audio has room echo or a steady hum, turn on Studio sound before you judge anything else, because it also changes how the pauses sound and therefore how many you want to cut. It cleans the whole recording once and is described in removing background noise; it is a paid-plan feature.
Pass two: structure
Read the first two minutes and the last two. Lectures start with attendance, screen-sharing problems and "can everyone hear me", and end with homework logistics that belong in a text post. Select and delete. The words stay visible with a line through them, so you can always put something back.
Then run Find retakes. Teachers restart sentences constantly — "So the derivative — sorry, the partial derivative…" — and the finder proposes the abandoned half for removal, showing the take it cuts next to the take it keeps. Accept the ones where the second attempt really does replace the first; leave the ones where the repetition was for emphasis. It takes a few minutes on a long recording, so start it and keep reading.
Pass three: pace
Remove fillers next: the dialog lists each candidate in context and you untick anything that is doing work. Then Tighten silences, last, so you are only tightening pauses that survived the structural cuts.
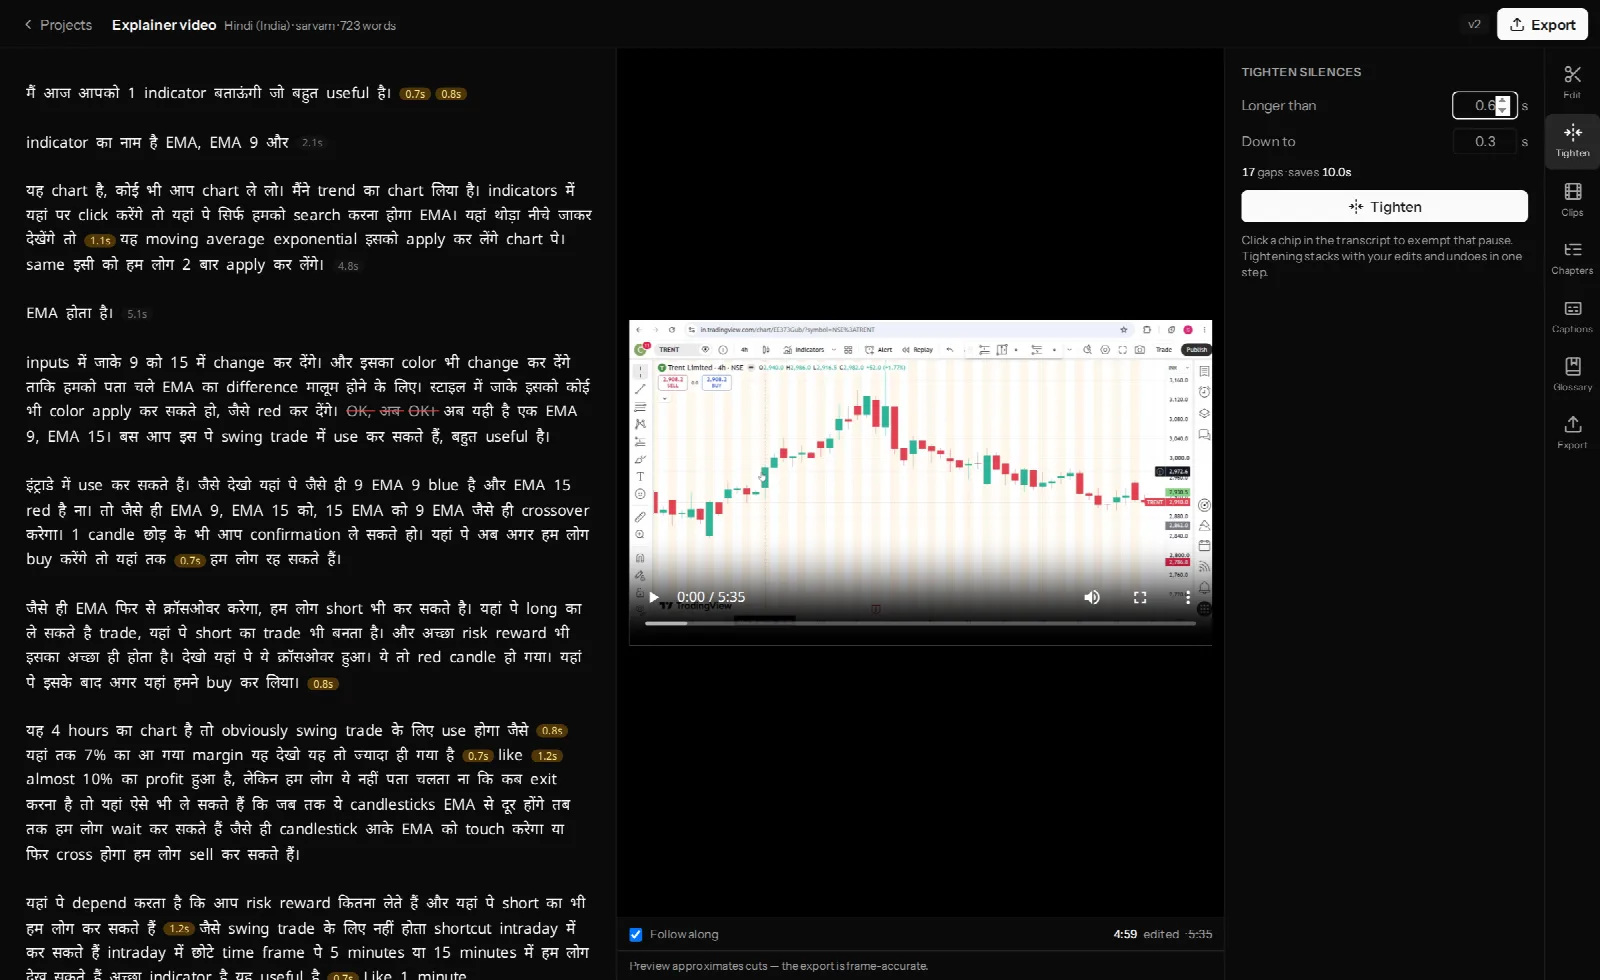
The one lecture-specific rule: be generous with the threshold. The default treats anything over 1.5 seconds as a candidate, which is right for a monologue to camera and too aggressive for a class, where a four-second pause is often the teacher writing on the board or letting a point land. Raise the threshold to three or four seconds, read how many gaps and how many minutes that saves, and click the chip on any pause that is teaching time to exempt it. The board-writing pauses that are genuinely dead — nothing being written, nothing being said — are the ones to take, and there are usually a dozen of them worth a minute each.
Pass four: navigation
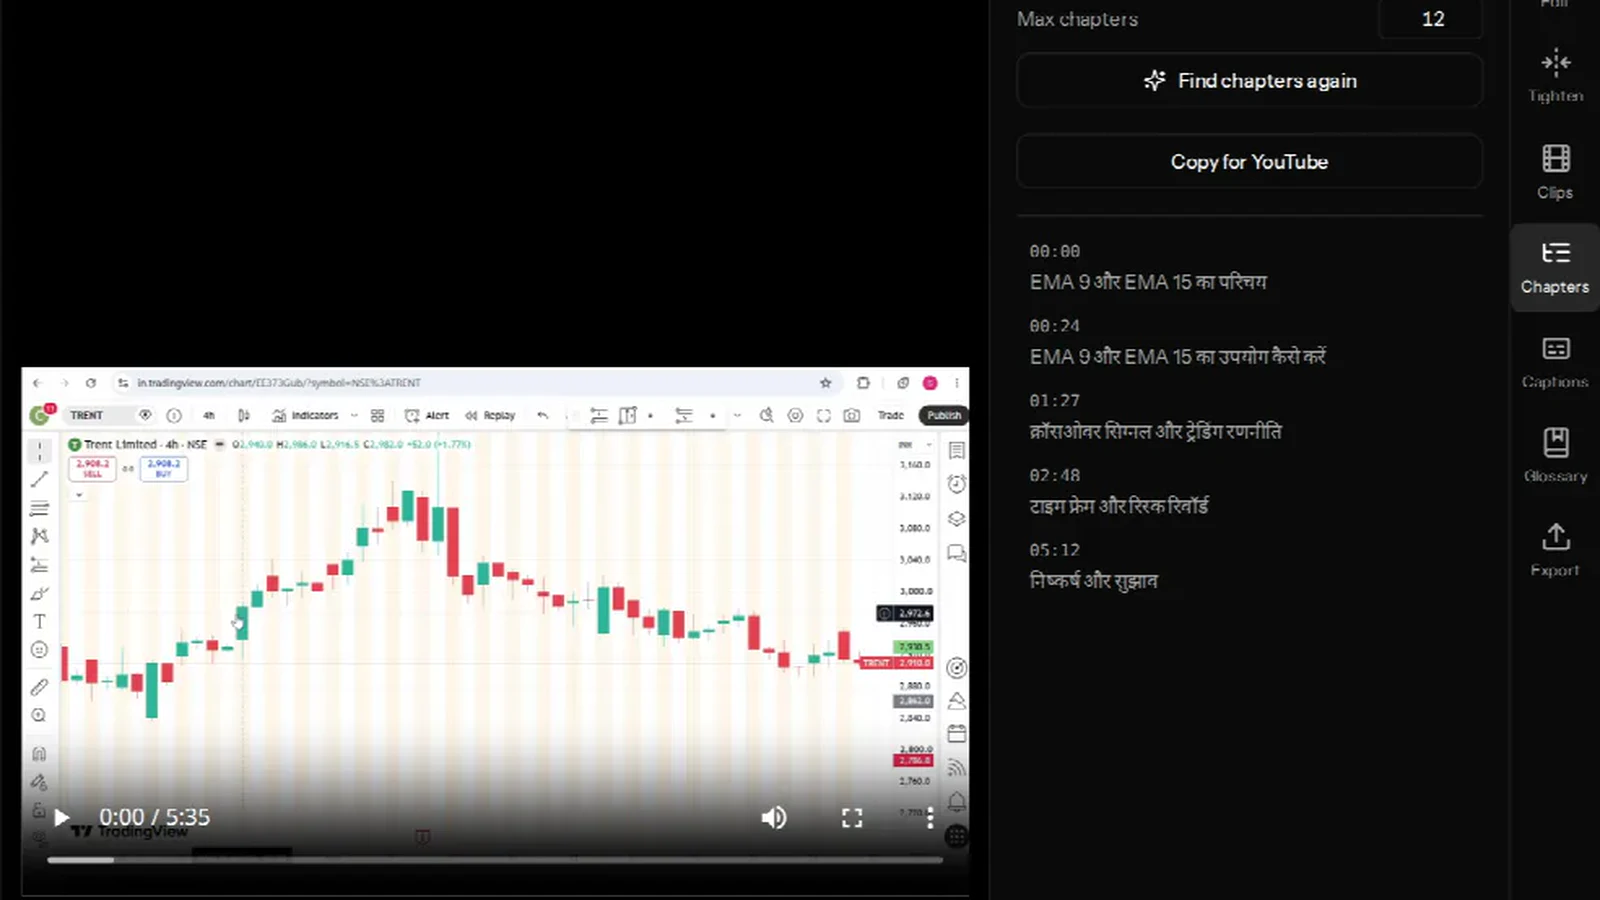
A student revising wants "the part about eigenvalues", not minute 47. Open the Chapters tab, set the maximum, and press Find chapters. For a lecture the useful range is six to twelve — one per concept, not one per slide — and the finder tends to land there on its own because it is looking for topic boundaries. Click each marker to check it lands where the topic actually turns, then Copy for YouTube and paste into the description. The rules YouTube silently enforces are in adding chapters to a YouTube video.
One thing to know: the timestamps are positions in the original recording. If you cut heavily, chapter the video after exporting by checking the first two marks against the finished file.
Pass five: slides as B-roll
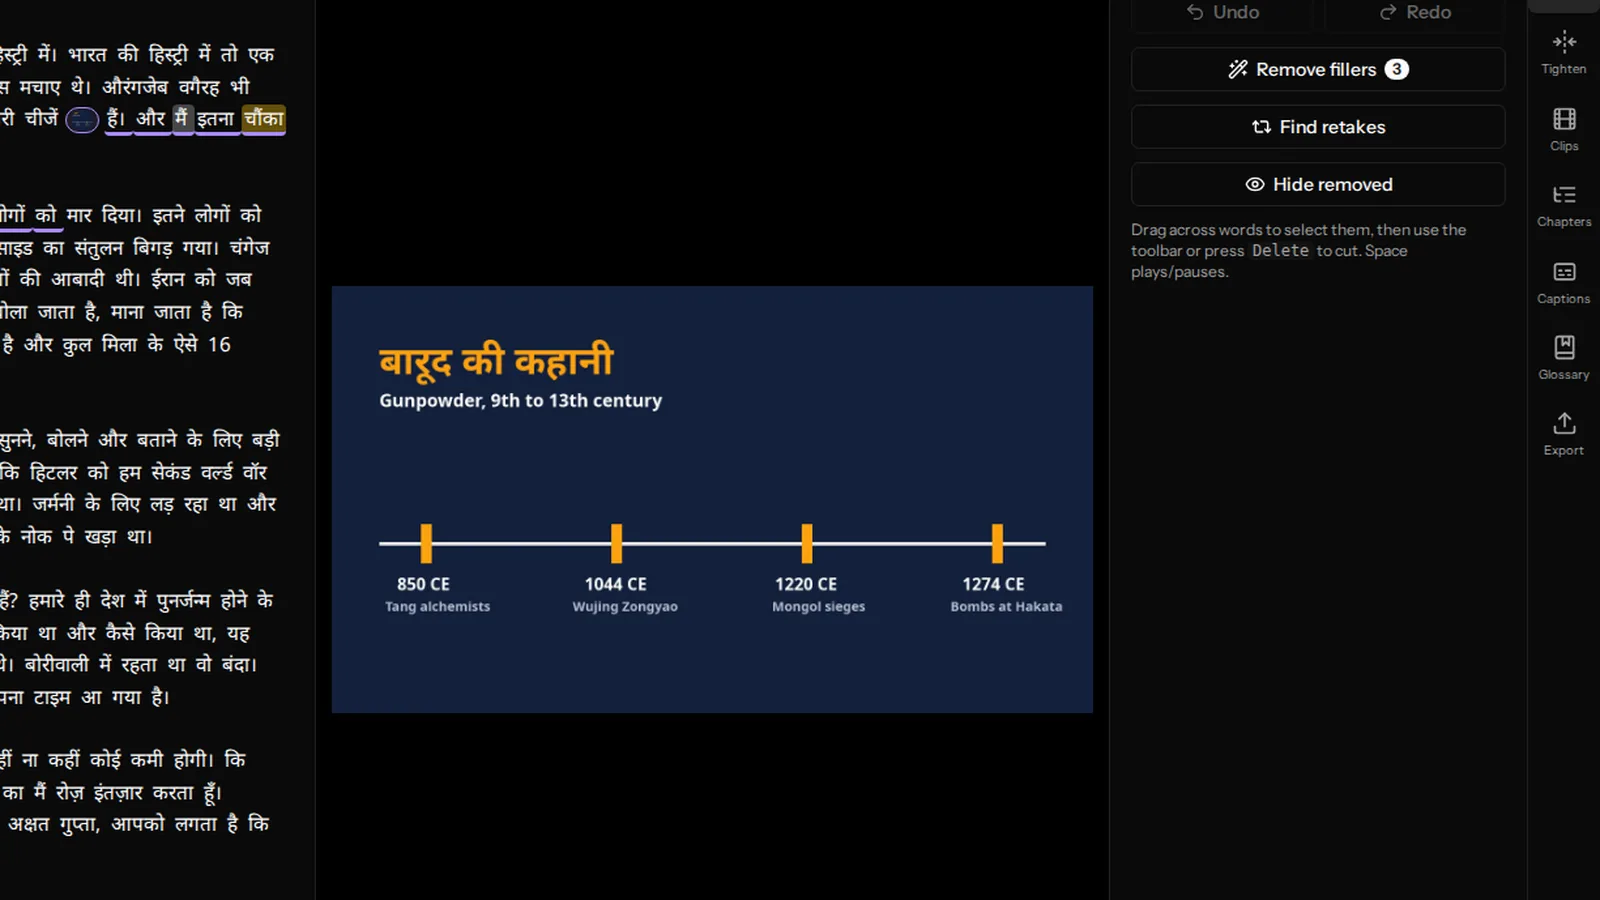
This is the pass that turns a camera pointed at a teacher into something a student can learn from. Export the slides as images, then for each one select the words where it is discussed and choose Add image or video…. Two layouts:
- Picture-in-picture, top-right, at 35–45% — the teacher stays visible and the slide sits beside them. This is the default choice for a lecture, because a face keeps attention and the slide gives the eye something to read.
- Full frame, Fit — for a dense diagram or a table of figures the student needs to read in full. Fit rather than Fill, so nothing near the slide's edge is cropped away.
The picture plays exactly as long as the selected words, and if you tightened a pause inside that span it stays put over the cut. Twenty-five media files per project is the ceiling; a lecture that needs more than that is a slideshow with narration, which is a different product. Full detail in adding B-roll, images and clips.
Export, and the promo clip
Turn captions on. Lectures are watched on phones on trains, and for a Hindi or Telugu class the burned-in captions are also the accessibility layer for students who hear the language better than they read it — or the reverse. Export at the resolution you recorded at; 1080p does not sharpen a 720p webcam.
Finally, open the Clips tab and run Find clips. A lecture rarely yields six viral moments, but it reliably yields one: the clearest ninety seconds of explanation, which is what you post to announce the full video. Keep that one, frame the 9:16 crop, export it. The method is in vertical clips for Reels and Shorts.
A realistic time budget
For a 90-minute lecture: about 30 minutes waiting for the transcript (do something else), five minutes of sound and structure, ten for pace, five for chapters, and fifteen to twenty for slides — roughly an hour of your attention for a video that is fifteen to twenty minutes shorter and navigable. The second lecture in the series is faster, because the glossary is already there.
Frequently asked questions
Does this work for a lecture in Hindi, Telugu or Tamil?
Yes; that is the case VidCarve was built for. Set the language hint if you know it, or let detection decide. A class that switches between English terms and a regional language is transcribed in mixed script, which is what you want — see why Indic transcription is hard for what to watch for.
Can I upload a screen recording with slides already in it?
Yes. It transcribes and cuts like any other video; you would skip pass five, since the slides are already in the picture.
The students' questions are inaudible. What do I do?
Cut them. Select the mumble, delete, and let the teacher's answer — which almost always restates the question — carry it. If you want the question on screen, a slide with the question as text, placed full-frame over the answer's first sentence, is the cleanest fix.
Can I reuse the same slides in next week's lecture?
Not across projects today — media is per project. Upload them again; each project holds up to 25.
Does a 90-minute upload fit on the free plan?
No. The free plan caps a single upload at 30 minutes. A paid plan lifts the cap; a lecture longer than your remaining minutes can also be covered by a one-click top-up.
Next steps
- Add B-roll, images and clips — pass five in full.
- Remove filler words, silences and retakes — passes two and three in full.
- Edit a video podcast — the same method for two or more speakers.